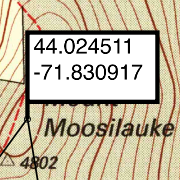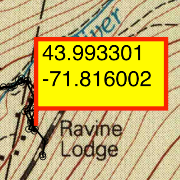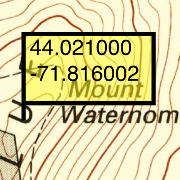
white = "path point"
black border
= not selected

yellow = landmark
red border = selected

semi-transparent
= deactivated
You can upload a trek as recorded by a GPS device to TrekMap2. There are dozens of format of data file, and TrekMap2 can not handle all of them. However it can handle *.tcx, *.gpx, *.kml and *.fitfiles. Fortunately there are a number of free, online converts between most other data file formats.
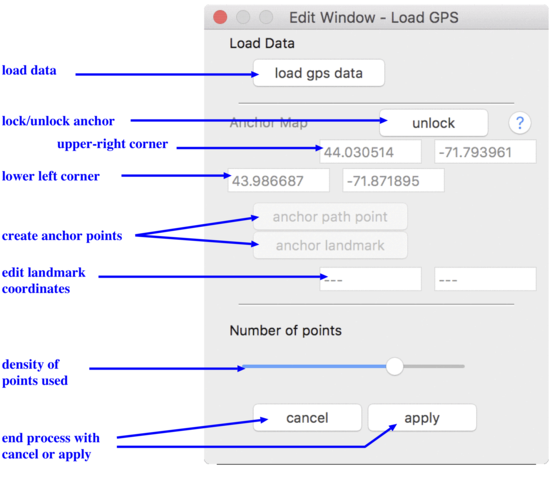
You can start the process by typing ⌘G or by using the pull-down menu Edit > GPS. Then click on [load gps data] to access a panel where you can select your GPS data file. Your data will be displayed on the Edit Tab.
For the path to be correctly placed, the map must be geo-referenced. There are a few methods.
Once you start loading a GPS file, you should not try to do anything else until you have completed (or canceled) the load. The basic steps are:

If your map is not geo-referenced, the GPS data is scaled to fit in the middle of your map image, but it is usually not in the right locations. You will need to create two or moreanchor points. These are points with know latitude and longitude.
Anchors white = "path point" black border = not selected |
 yellow = landmark red border = selected |
 semi-transparent = deactivated |
A "Path Point" anchor is based on a point from the path you just uploaded. That point already has a longitude and latitude information. It just needs a location on the map image.
Click the [anchor path point] button on the GPS-Edit Window. Then click on a path point. a white "flag" will appear, with the latitude and longitude displayed. You can then drag this "flag" to its correct location on the map.
If your trek involved a recognizable "trail head", or turning point, these work as good "path point" anchors
A "Landmark" anchor is based on a point on the map whose longitude and latitude is well known from some other source. For example, the summit of a mountain may have a well known latitude and longitude.
Click the [anchor landmark] button on the GPS-Edit Window. Then click on a point in your map. a yellow "flag" will appear, with the latitude and longitude displayed at "-999.990000/-999.990000", which means it is yet to be assigned. You can edit these numbers in the Edit-Window. You can also drag this "flag" to its correct location on the map.
To select an anchor, click on the flag. When selected, the border of the flag will then turn red. You can then drag it to its proper position. If it is a landmark anchor, you can also edit its longitude and latitude.
After every movement of a flag, the scaling of the path is recalculated.
To delete an anchor, select the anchor (click on the flag) and then press dkey.
You may choose to use only some of your anchors. Anchors which are used in the scaling calculation are called active. To toggle if an anchor is active/de-active, select that anchor and press the a key. Active anchor have solid colored flags. Deactivated anchors have semi-transparent flags.
Once the scaling of the trek is as you like it you can then click on the [apply] button on the Edit Window. TrekMap will then convert the GPS data into a path, which you can then edit like any other path.
You may cancel the process at anytime by clicking the [cancel] button.
TrekMap2 calculates latitude and longitude scaling independently. So if your two anchors are directly above each other, the north-south scale may be good, but the east-west scaling may be problematic. Likewise if your anchors are on a horizontal line, the north-south scaling may be inaccurate.
TrekMap2 assumes that locally lines of longitude are parallel. Therefore in polar regions, depending upon your maps project, there may be problems.